Maximizing Sharpness
In this section we'll discuss the key steps for obtaining a sharp image, a necessary attribute of high-quality nature photographs. There are several factors that affect sharpness and we will discuss each in turn. It is worth noting that even though image processing software has improved significantly in recent years, it will not solve all of your sharpness problems. The garbage in, garbage out rule still applies. If your image is a bit soft, software can usually make it tack sharp. But it cannot magically transform a seriously blurry image into something useful.
The Camera
Modern digital cameras boast high-quality sensors with enormous pixel counts, so the camera itself is generally not a limiting factor when it comes to achieving excellent image sharpness. It's usually the lens that makes the biggest difference. Expensive top-end lenses deliver the best image quality, but rest assured that even entry-level gear can produce perfectly acceptable levels of sharpness.
It's a good idea to test your lens at home using a tripod to determine its baseline performance across a range of aperture settings. There is usually a sweet spot where the lens is sharpest. Having this baseline as a reference will keep you from blaming the lens when sharpness problems crop up in the field. In most cases, factors other than lens quality will be the main cause of inadequate sharpness (see below).
Autofocus Tips
Autofocus systems now come with many modes and options, and this can be somewhat intimidating. If you are just starting out, it's best to set up your camera to operate like an old-style point and shoot camera. This remains a good approach for most photographic scenarios. There should be a single focus point, the focus should lock when you press the shutter halfway, and pressing the shutter all the way should take a single photo.
Once the focus has been locked on your subject (by pressing the shutter halfway) you can pan the camera a bit to fine-tune the composition. Just remember to keep the shutter pressed halfway till you are ready to take the shot. Alternatively, many newer cameras allow you set up the composition first and then move the focus point to the subject using a control knob on the back of the camera.
Where most of the advanced autofocus options come into play is with moving subjects. For example, if there is a bird hopping around on a branch, you can increase your chances of getting a good shot by using continuous autofocus and setting up your camera to keep shooting as long as the shutter is pressed (machine-gun mode).
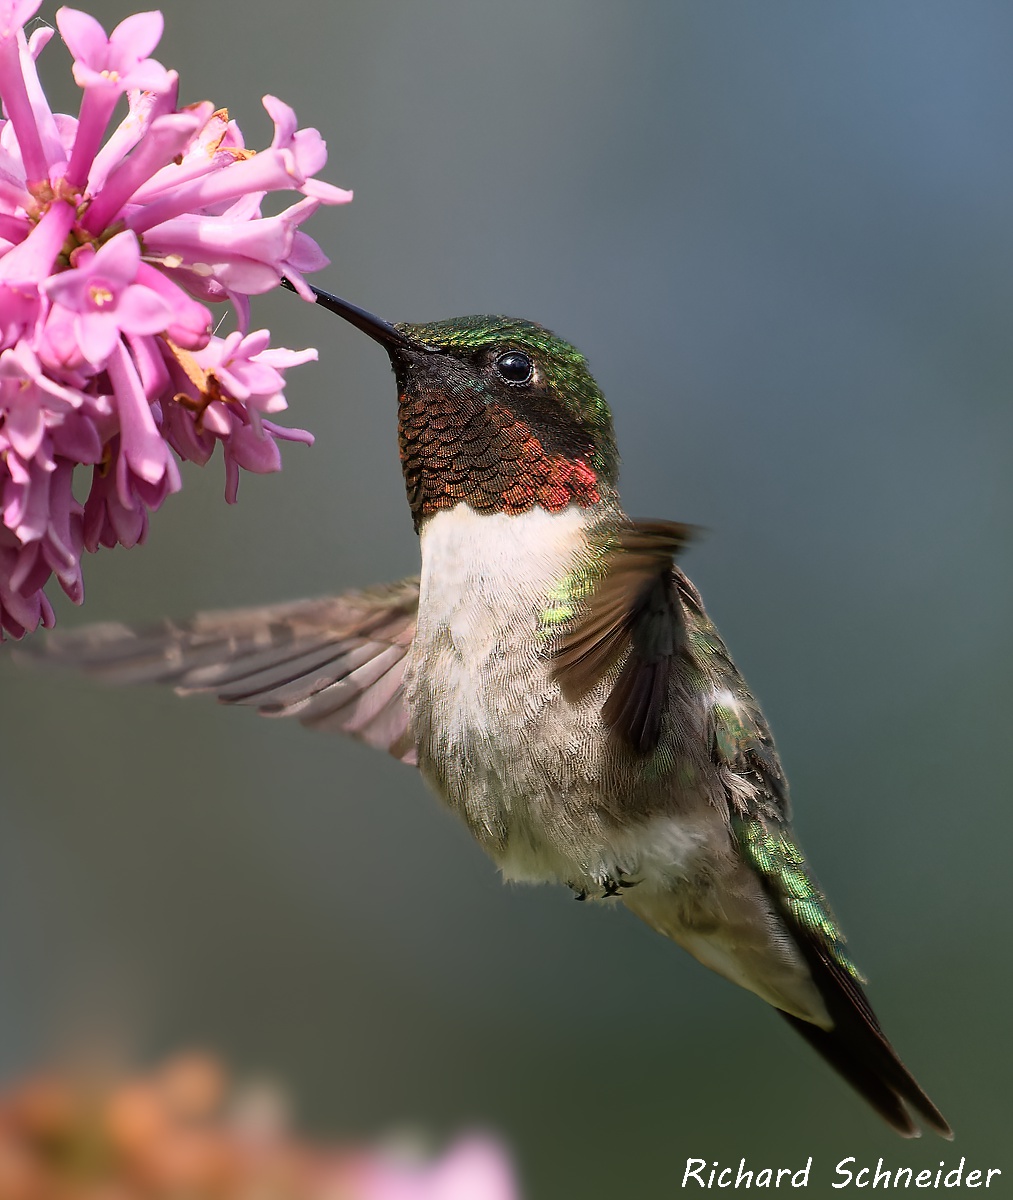
A fundamental rule when photographing wildlife is that the eyes are most important. If your subject’s eyes are sharp, no one will notice that the tail is not. This does not work in reverse: if the eyes are not sharp, viewers will consider your image to be blurry. The challenging part is that animal heads rarely remain still for long. Moreover, eyes make relatively small targets. The tried and true solution is to take lots of pictures of your subject, locking focus on the eyes as best you can. Usually, at least one of them will be a keeper.
To ensure that the camera is focusing exactly on the eye, it is best to select the smallest autofocus point available (often referred to as “spot” or “pinpoint”). This setting works fine for most other subjects too, so you can leave it as the default.
Preventing Motion Blur
One of the most common causes of blurred images is motion, either from camera shake or movement of the subject (or both). The most reliable way to control camera shake is to use a tripod. Large, solid tripods are most stable but small, light-weight tripods are much more practical to carry. An alternative approach is to use a high shutter speed, which freezes both camera motion and movement of the subject. The catch is that high shutter speeds require good lighting, which is not always available.
The speed needed to control camera shake when hand holding depends on the focal length of the lens. Telephoto lenses not only magnify your subject, they also magnify subtle movements of the camera in your hands. Therefore, a faster shutter is needed to prevent camera shake when using a long lens. The old rule was that the shutter speed should be 1/focal length (e.g., a 400 mm telephoto lens would require a speed of 1/400th of a second or faster). Nowadays, most lenses have built-in image stabilization and camera bodies are beginning to include stabilization as well. These systems work quite well and make a real difference in the field. You should do some test shots with a static subject to determine the shutter speeds needed to adequately control camera shake with your specific setup.
Camera shake can also be minimized through good technique. When the camera is on a tripod, use the 2-second timer to release the shutter, thereby avoiding any remnant jiggles from the shutter press. When handheld, press the shutter gently rather than stabbing at it. Also, use a tree or fence post to lean against, if one is available. If not, pull the camera viewfinder close to your eye and pull your arms in close to your body to maximize stability.
Turning to subject motion, the minimum shutter speed for good sharpness depends on how fast the subject is moving across your field of view. We'll concentrate here on relatively static subjects, since photographing fast-moving animals is an advanced topic outside of the scope of this guide. With truly static subjects, such as landscapes or flowers (in calm conditions), shutter speed is not a concern. With the camera on a tripod, you can leave the shutter open for more than a second and still capture a crisp image. Indeed, this is often necessary when shooting in low-light conditions, like under a forest canopy.
Wildlife is different because animals are rarely completely still, even at rest. Subtle subject movement is a common cause of suboptimal sharpness. The solution is to always maximize the shutter speed when photographing wildlife. If you have the light, shoot at 1/1,000 second (and even even higher for fast moving subjects). If not, boost your ISO to moderate levels (500-1,000) to achieve the fastest speed possible. Remember, moderate levels of noise are easily dealt with in post processing. Also, take multiple shots to increase the odds of getting at least one that is tack sharp.

Depth of Field
When a camera locks focus it maximizes image sharpness at the exact spot you have selected with the autofocus point. Other parts of the image will be progressively less sharp, depending on how far in front of or behind the focus point they are. The distance between the closest and farthest objects in a photo that appear acceptably sharp is referred to as the depth of field. In this section we will discuss the challenges of working with a narrow depth of field and how they can be managed. In a later section we will explore the creative uses of depth of field.
Depth of field is determined by three interacting factors: aperture size, lens focal length, and subject distance. Apps are available to calculate the exact depth of field for any situation, but the general rules are:
- the larger the aperture opening, the narrower the depth of field
- the longer the lens, the narrower the depth of field
- the closer you are to your subject, the narrower the depth of field
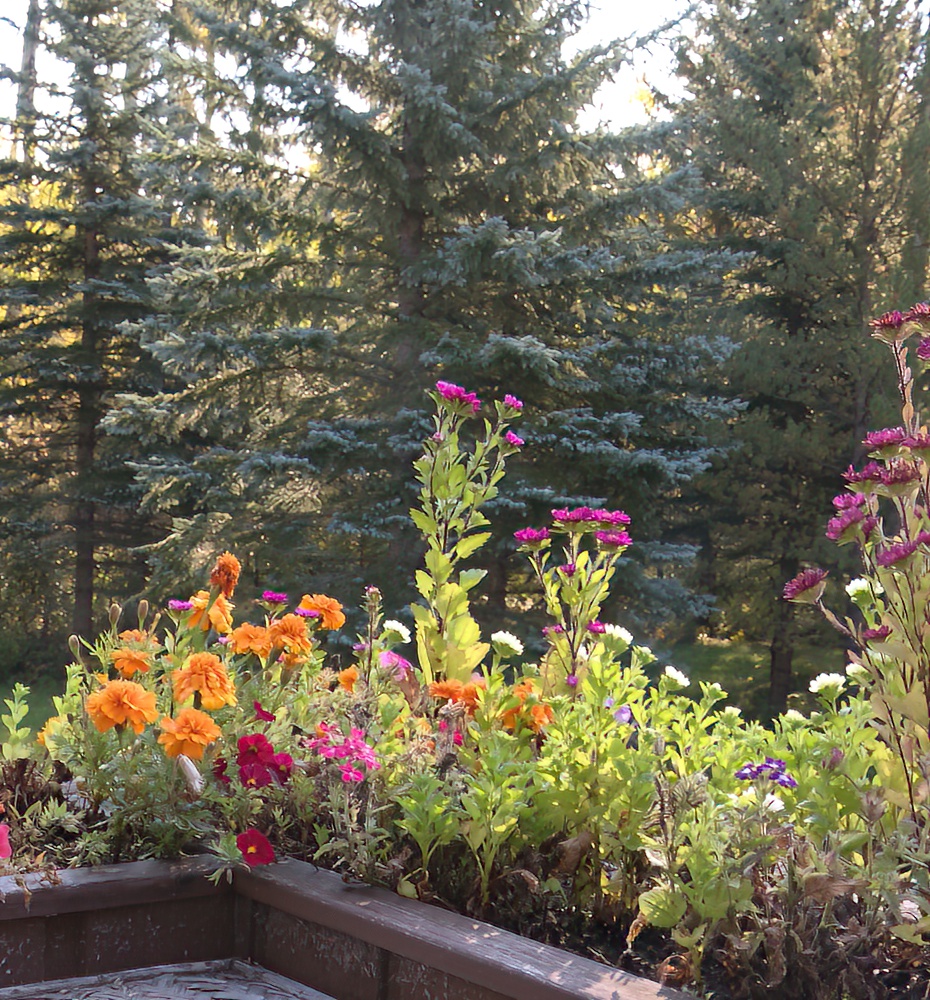
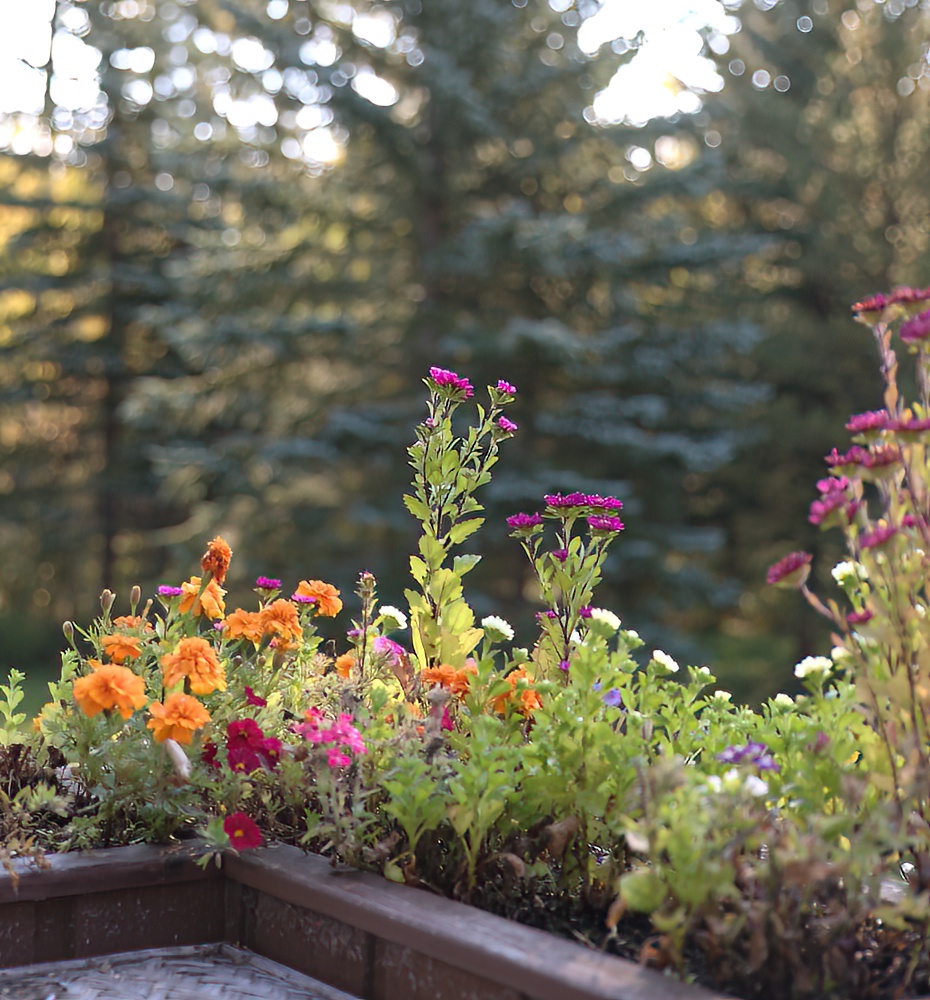
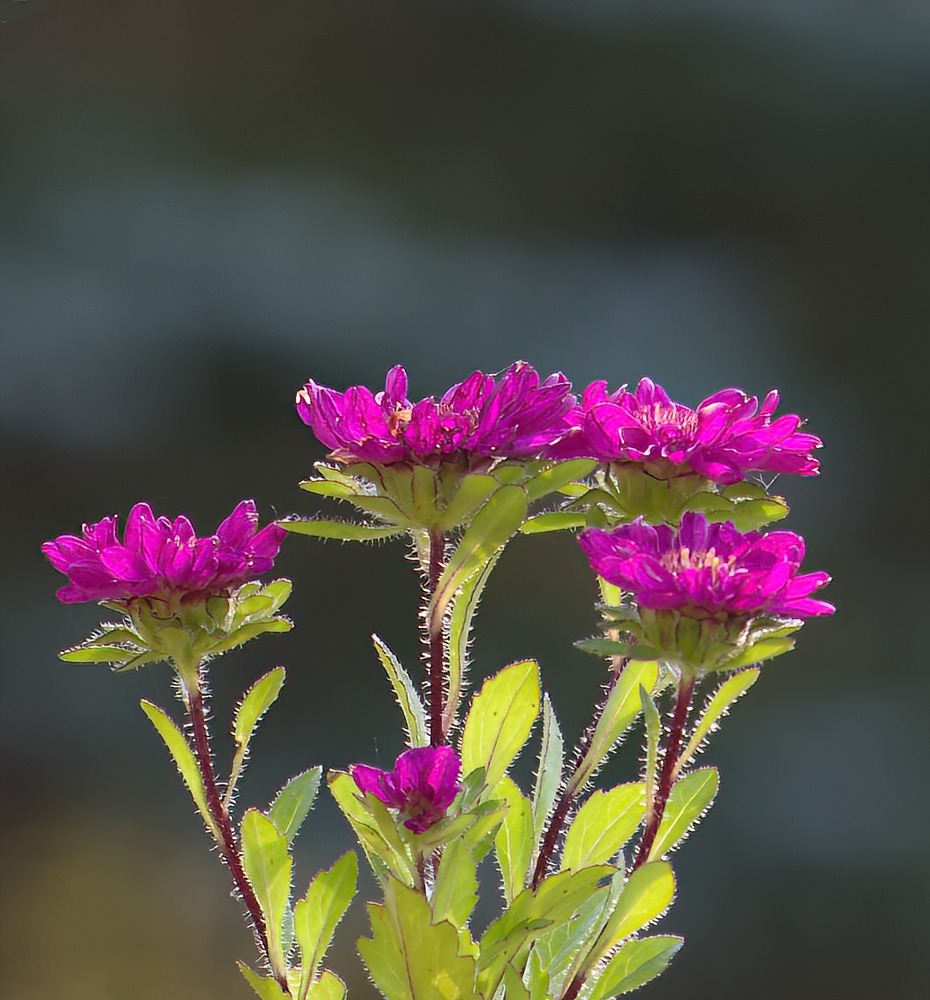
The test photos below illustrate the effects of aperture size and lens focal length on depth of field. All photos were taken from the same spot and were focused on the same centre flower. The photo on the left was taken with a medium-length lens (50 mm) and a narrow aperture of f/16. The image is sharp, front to back. The centre photo was taken with the same lens but with a wide aperture of f/2.8. Here we see significant blurring of the background and some softness of the foreground as well. The photo on the right was taken with a 400 mm telephoto lens and an aperture of f/16. Despite the narrow aperture, the background in this photo is just a wash of colour. There is no foreground visible, but it would have been blurred too had it been present.


We can conclude that lens focal length has a greater effect on depth of field than aperture. In practice, the short lenses used to photograph broad landscapes provide such a large depth of field that it's usually not a problem to get the entire scene acceptably sharp. Conversely, when photographing wildlife with a telephoto lens, depth of field is often very narrow and this can result in misfocus problems. A smaller aperture will help; however, this means boosting the ISO and/or reducing the shutter speed. Again, it helps to take many photos, to improve the odds of getting one that is perfectly focused.
Depth of field limitations are most challenging when photographing small subjects close at hand (e.g., insects and flowers). In many cases, the depth of field will be measured in millimetres. A common approach for dealing with this is to orient the subject's long axis so that it's parallel to the focal plane. The damselfly photo below provides an example. The same approach can be applied to butterflies and other insects. However, you may find that it's worth sacrificing some tail-end sharpness to get a more interesting pose, as illustrated in the butterfly photo below. Even though the abdomen is blurry, most viewers will consider this photograph to be acceptably sharp because the eyes are well focused.

If you are technically inclined, there is another method for extending the depth of field called focus stacking. This approach involves taking multiple photos of your subject, each with a different focal point, and then blending the sharpest parts of each photo into a single composite image using specialized software.
